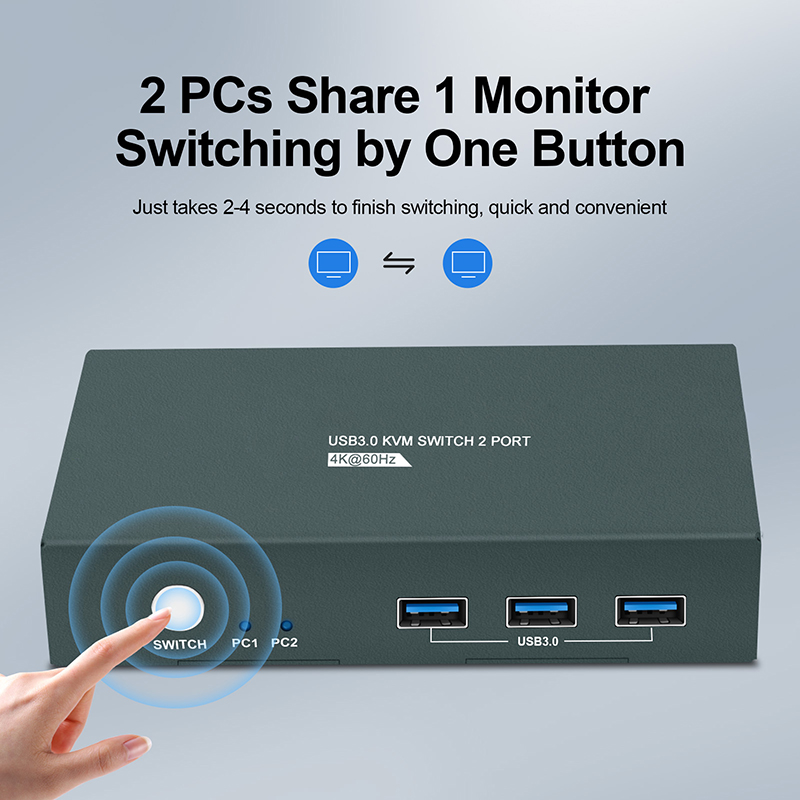
Support free switching between two high definition audio and video signal sources and USB signals;
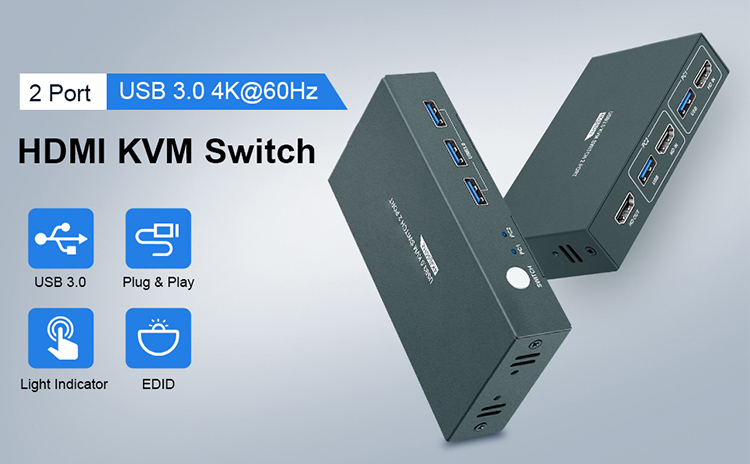
Support HDMI 2.0 standard, HDCP 2.2 and USB 3.0 protocol ;
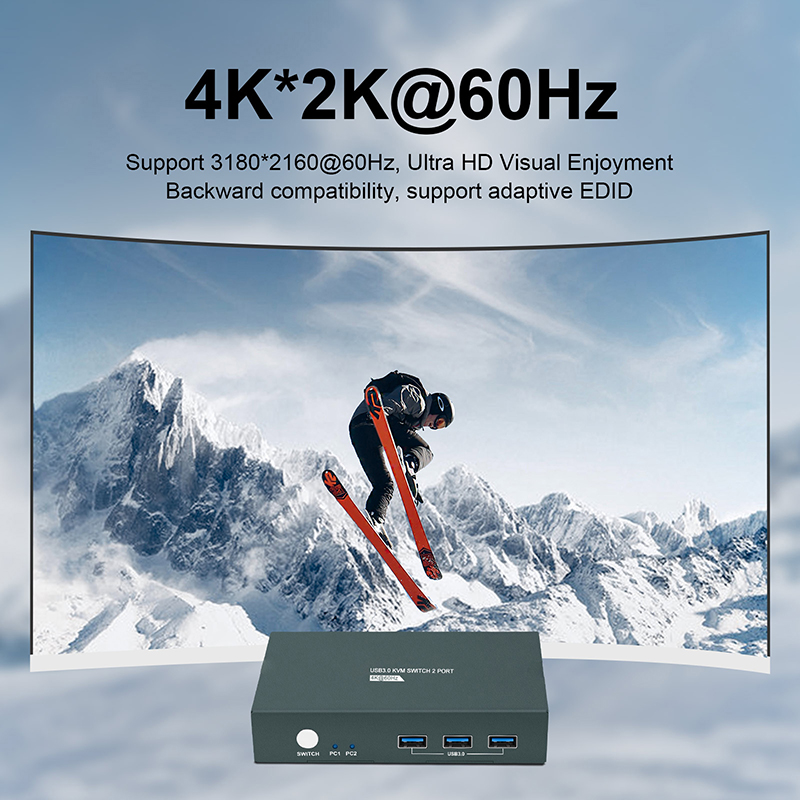
Support resolution up to 3840*2160 @60Hz, backward compatibility ;
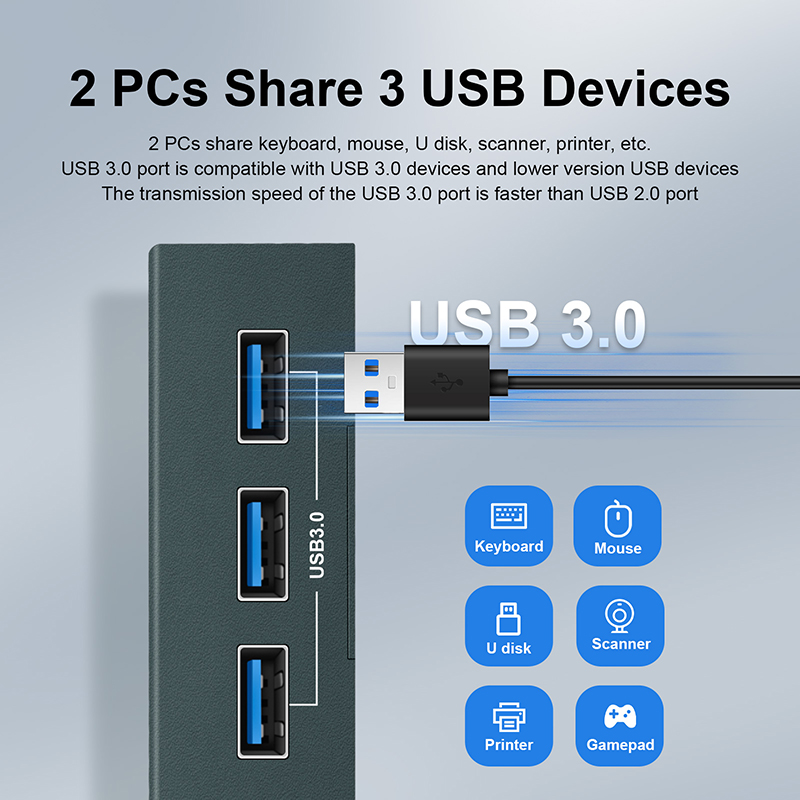
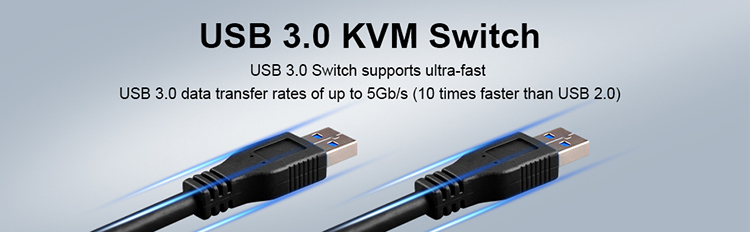
Support maximum data transfer rate 5Gbps for USB 3.0 ;
Automatic adaptation of EDID, adapt to a variety of complex application environments;
Automatically identify and configure various display modes;
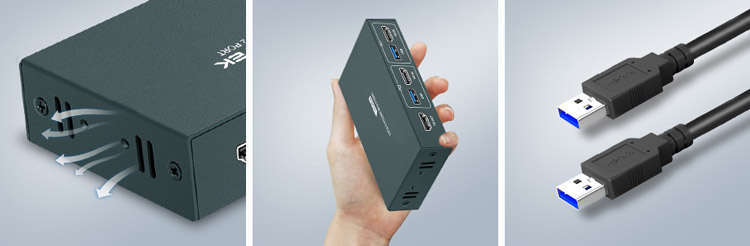
Built-in automatic equalization system, making the picture smoother, clearer and more stable;
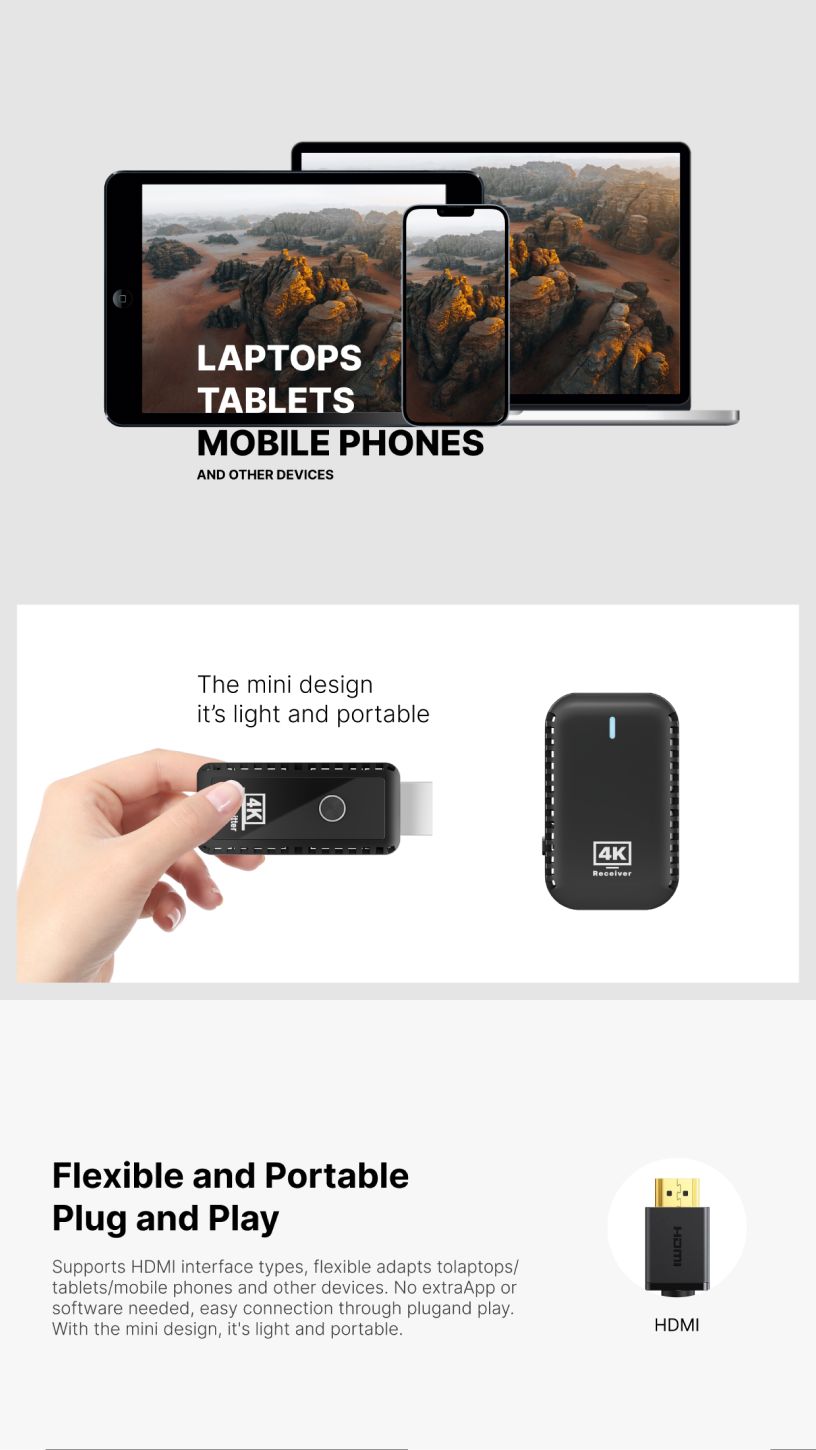
Simple and easy to install, plug and play, no need any drivers;

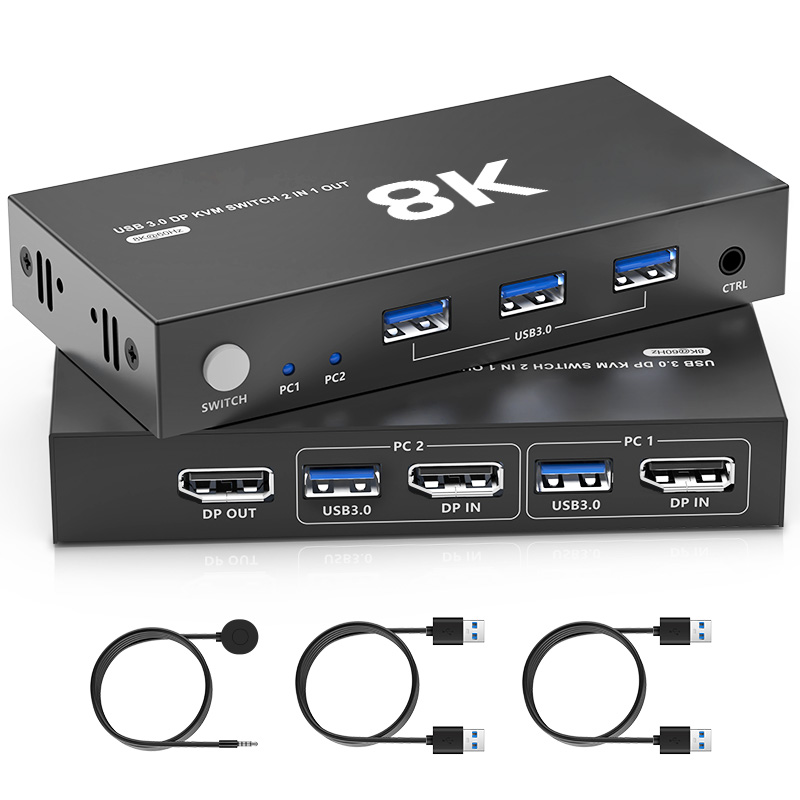
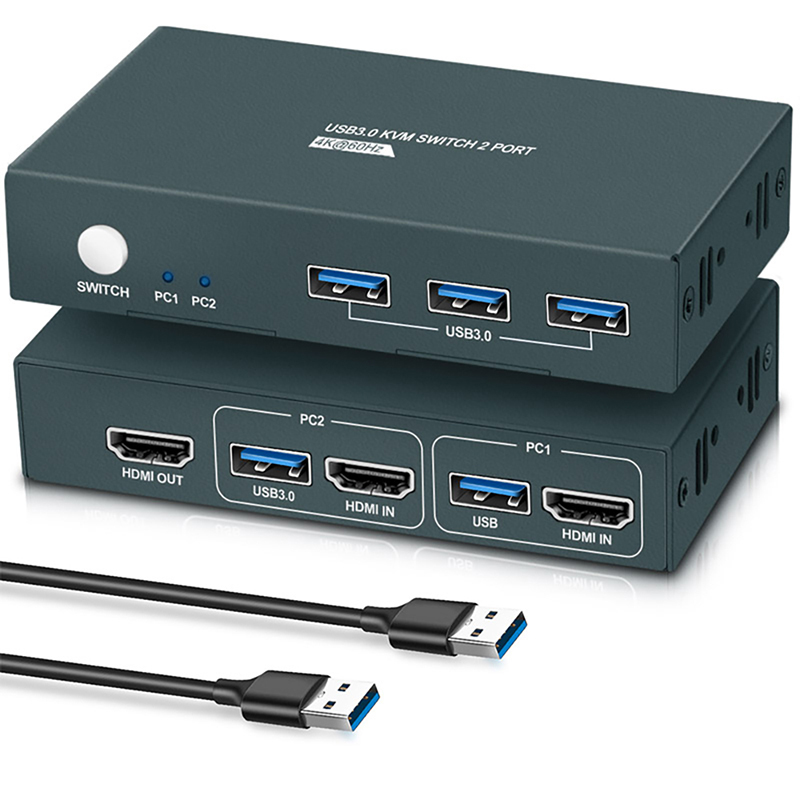
Package list
HDMI 2*1 KVM Switcher Host | 1 Pcs |
USB-A to USB-A USB 3.0 Cable | 2 Pcs |
HDMI 2.0 Cable | 2 Pcs |
USB-A to USB-C Power Cable | 1 Pcs |
User Manual + Warranty Card | 1 Set |
Foot Pad | 4 Pcs |
Specifications
Parameter | Description | |
Video | Standards | HDMI 2.0, HDCP 2.2 |
Maximum pixel clock | 600 MHz | |
Maximum data rate | 18 Gbps | |
Maximum resolution | 3840*2160@60Hz, Backward compatibility | |
Connector | HDMI-A Interface | |
Impedance | 100Ω | |
HDMI Cable Range | <5 M( Resolution: 1920*1080@60Hz) | |
USB | Interface protocols | USB 3.0 |
Maximum data transfer rate | 5Gbps | |
PC input interface type | USB-A | |
Output interface type | USB-A,USB 3.0*3 | |
Other | Power supply | 5V power supply |
Power dissipation | MAX 2W | |
Temperature | Operating: -5℃ ~ +70℃ | |
Humidity | Operating: 5% ~ 90% | |
Dimension | 110*61.5*29mm | |
The warranty | 1 year free warranty | |
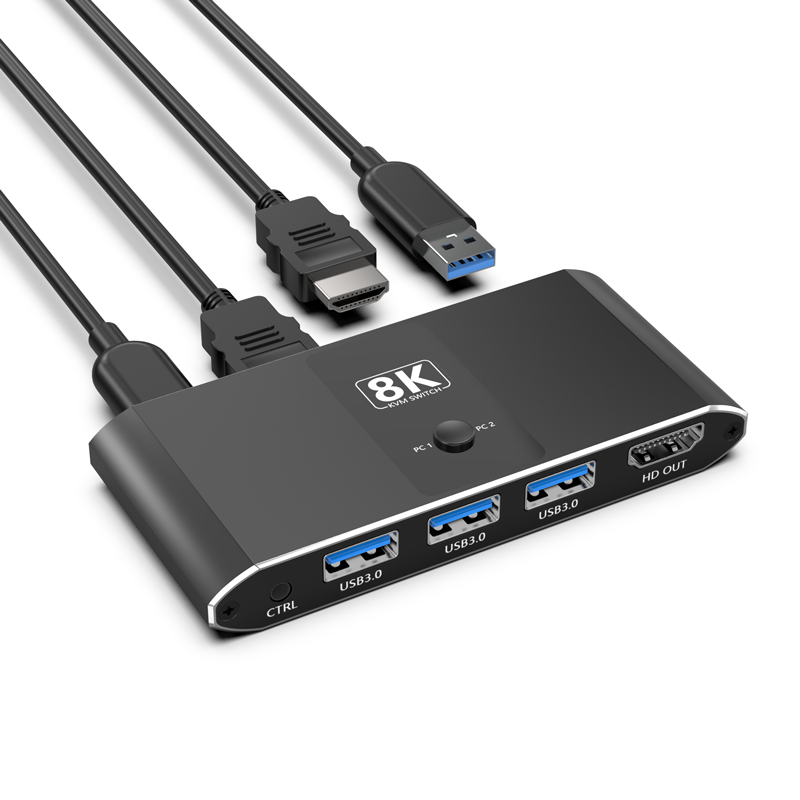
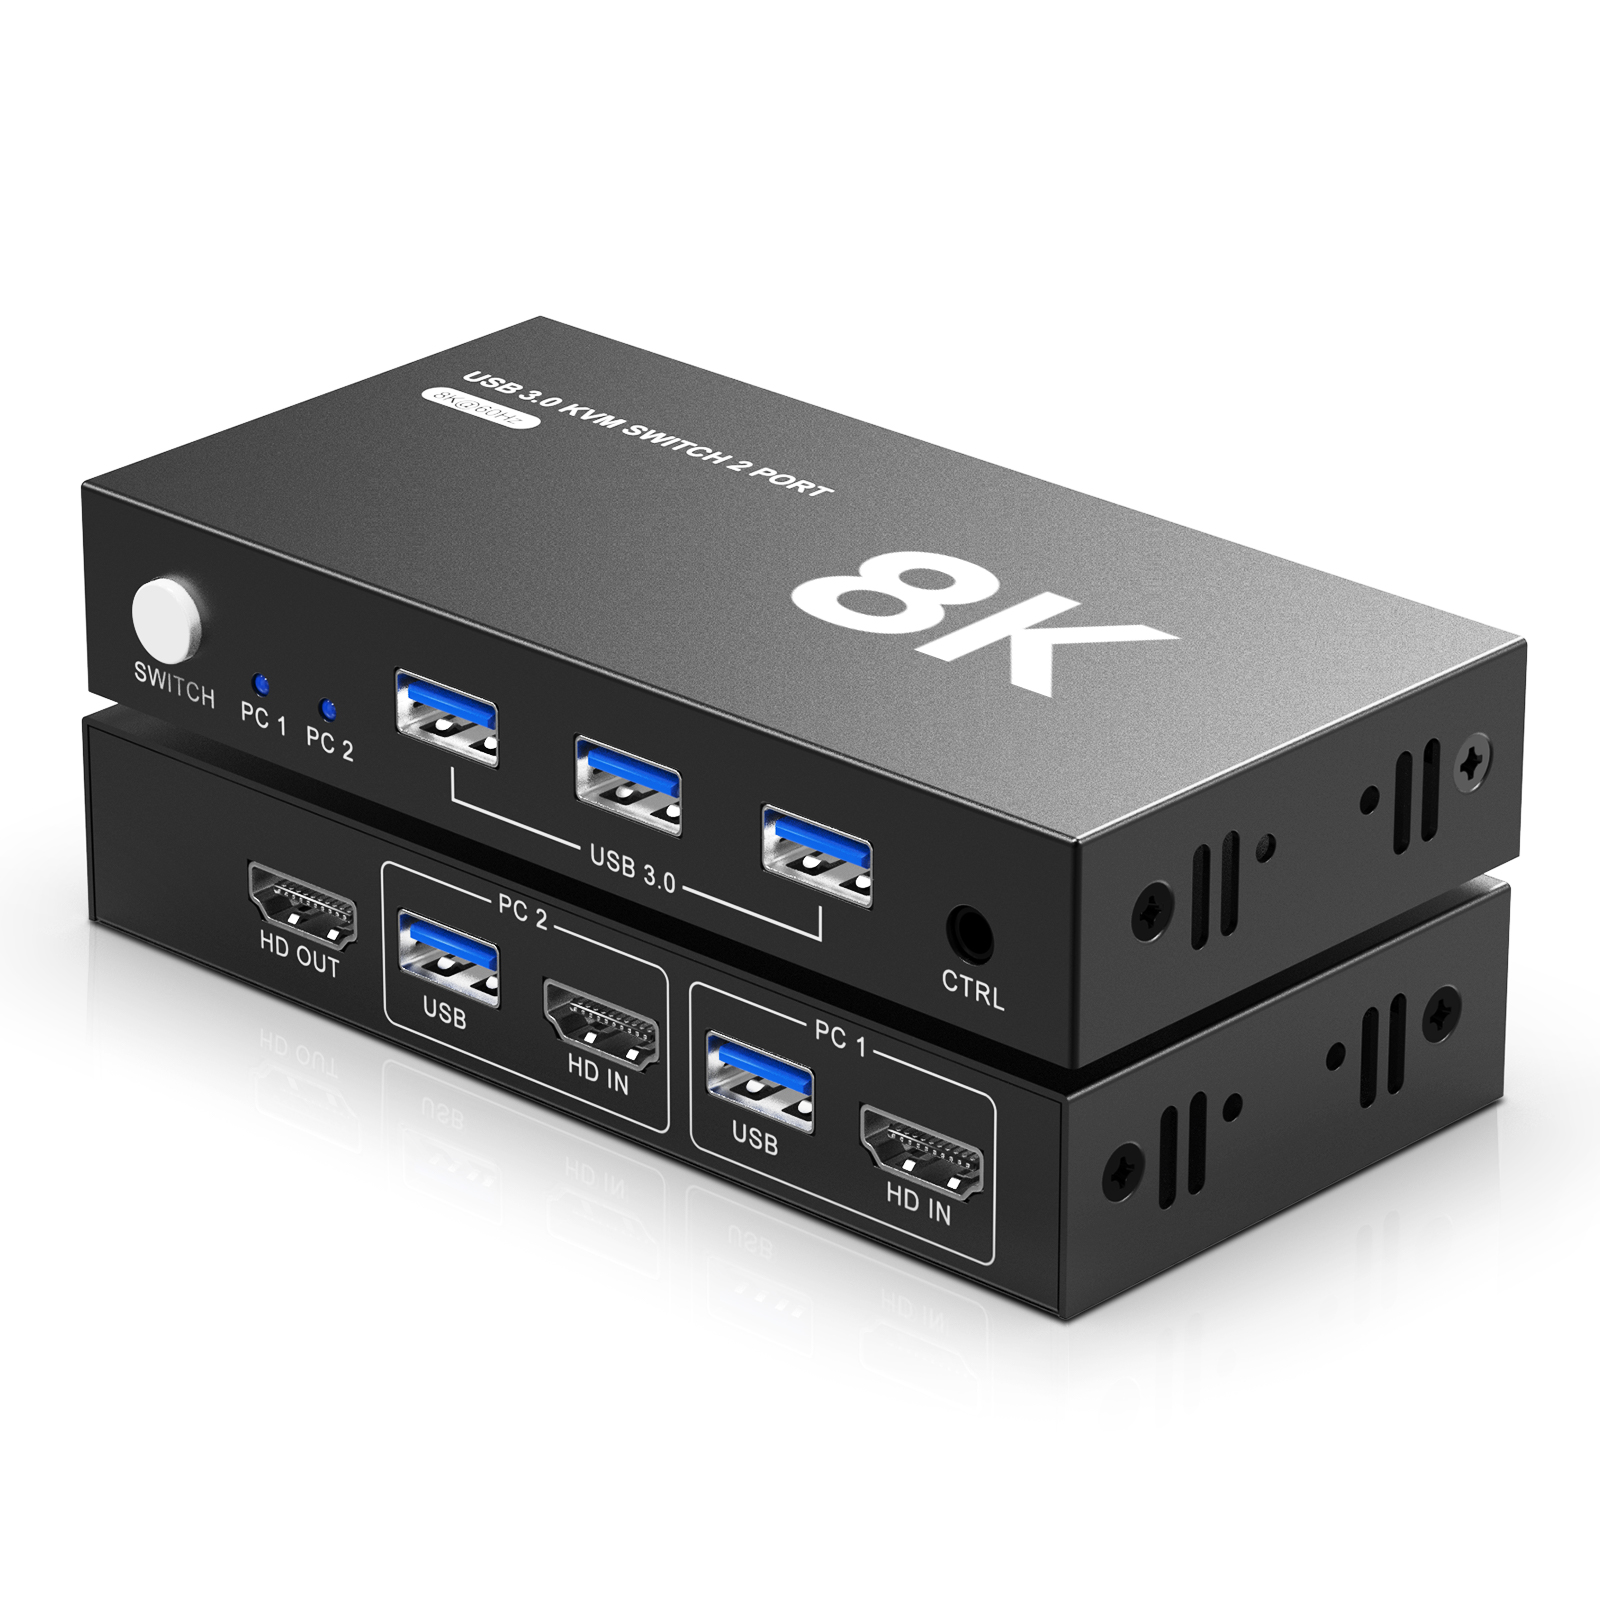
Panel
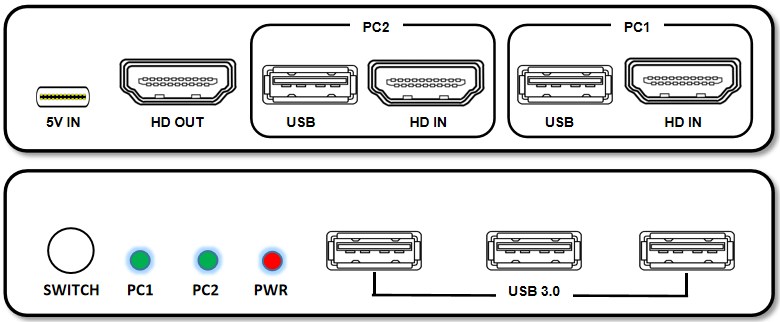
Port name | Description |
5V IN | 5V power input interface |
HD OUT | HDMI signal output interface |
PC 1/USB/HD IN | PC 1 HDMI and USB signal input interface |
PC 2/USB/HD IN | PC2 HDMI and USB signal input interface |
SWITCH | PC 1, PC 2 signal groups switch buttons |
PC 1/PC 2 | PC 1, PC 2 signal groups selected indicators |
PWR | Power input indicator |
USB 3.0 | USB 3.0 device input interface |
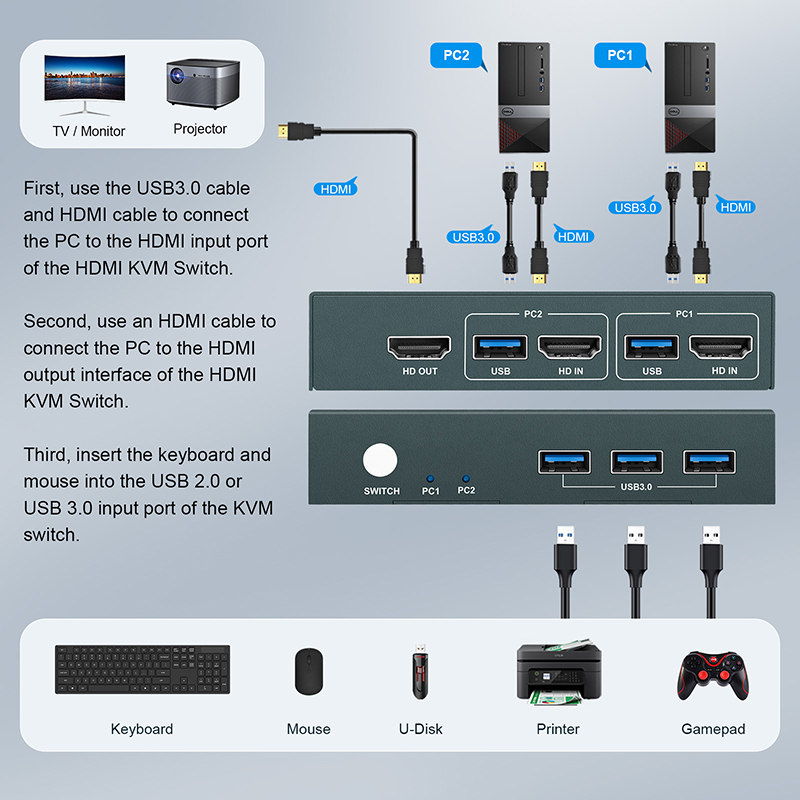
Diagram
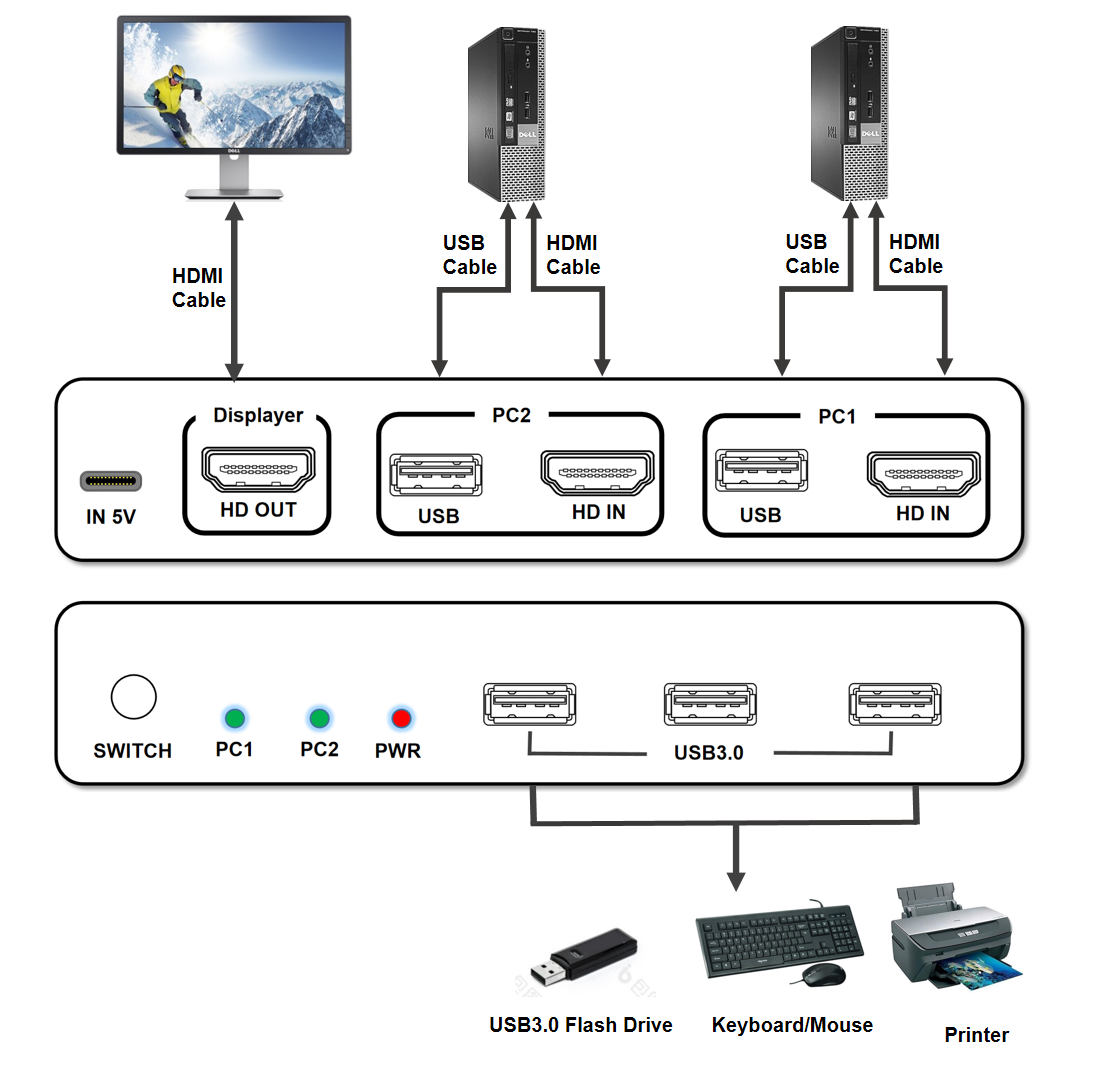
Connection steps
1. Use 1 HDMI cable to connect the "PC 1 HD IN" input interface and PC 1 HDMI output interface.
2. Use 1 "USB-A to USB-A" USB3.0 cable to connect the "PC1 USB" input interface and PC1 USB interface.
3. Use 1 HDMI cable to connect the "PC 2 HD IN" input interface and PC 2 HDMI output interface.
4. Use 1 "USB-A to USB-A" USB 3.0 cable to connect the "P C2 USB" input interface and PC 2 USB interface.
5. Use 1 HDMI cable to connect the "HD OUT" output interface and monitor.
6. Connect the USB 3.0 device to the "USB 3.0" interface.
7. Use 1 "USB-A to USB-C" USB power cable connect the "5V IN" interface and power source, when the "PWR", "PC 1" or "PC 2" indicator lights up normally, the system is running normally.
Warranty
Thank you for using this product. In order to protect your rights, please read the following protection terms carefully:
We provide 1 year warranty and lifetime maintenance after-sales service for this product. Within the warranty period of one year from the time of purchase, the company we provide customers with free maintenance services due to hardware failures caused by the quality of the product itself.
Please keep the user manual in a place where safety and easy to find so that you can read it immediately when needed.
Safety instruction:
l Please do not disassemble this product by yourself because it doesn't including DIY function.
l Please keep the product away from water in case damaged, because it is not waterproof design.
l Please use dry cloth when clean the product surface.
l Please do not use this product in environments that are too humid or too hot.
l Please avoid contact with corrosive substances.
l When there is damage or other physical damage to the product, please stop using and contact customer service to get support.